You want to have a site/blog of your own, and for some reason, you want to do it the hard way.
I wrote this post for you.
The aim of this post is to show you the easiest (and fastest) means to install Jekyll on a Github Pages site.
If you want just a Github Pages site, there is a more detailed tutorial for that here.
What do we want to do?
We want to:
- Create a repo on Github for our site
- Clone that repo to our PC, because that is where we will do our installation
- Install Jekyll to the repo we just cloned
- Modify the Gemfile, and finally,
- Push our changes back to Github.
Really! That’s how simple it is, and you should have a blog in about 20 minutes! Ready?
Create a repo on Github
Why?
Because a Github Pages site is basically a repository hosted on Github. Just like how you host your website files on domain hosting servers that serve your site, you need to host files for your site on Github.
To create a Github Pages site, you need to create a repository that has the same name as your username. For example, if your github username is occhristian, then the name of your repository will be occhristian.github.io
Sign in to your Github account and create the repository if you haven’t already. Set its visibility to public. Decide what kind of license you want, and whether you want a default README.md initialized for you.
Clone the repo to your PC
Now that you have created the repository that will host your files, you want to clone that repository to your PC. This is because you want to be able to make changes, modifications, and installations to your site offline, before pushing changes online.
You don’t want to have to login to your Github account each time you want to write a post. Moreover, we will be running the next few commands on a terminal, so you want to get a copy of your repository on your PC.
Open the repository you just created, and click on the green CODE button. You should see three tabs: HTTPS, SSH, and Github CLI.
Click on Github CLI, and copy the code shown.
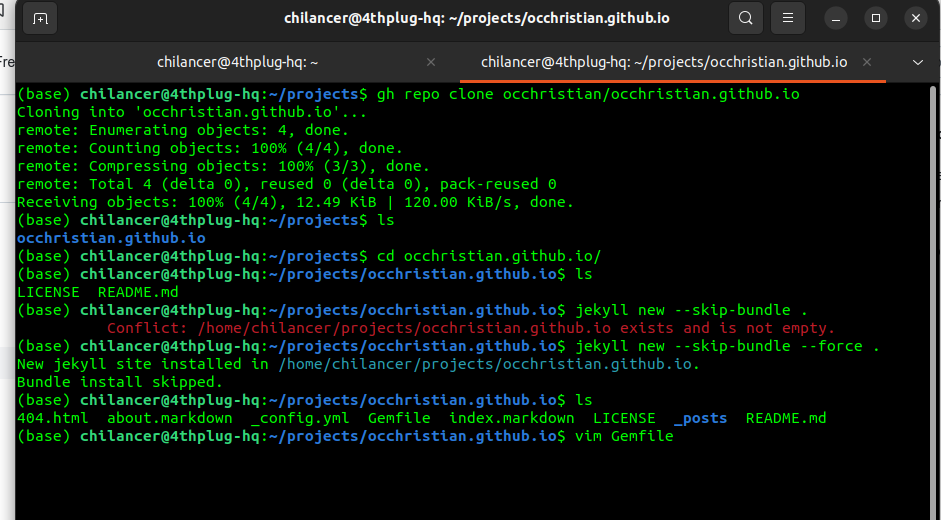
Open Terminal, and navigate to the directory where you want to store the files for your site. For me, it was projects in my home directory. Paste the code you just copied, and then press the Enter key.
1
2
$ mkdir projects && cd projects
$ gh repo clone occhristian/occhristian.github.io
The first line does two things - creates a directory named projects, and then changes to that directory. The next line is the same code you copied from Github. It simply clones the repository to your PC.
It will take a few seconds, and then you should have an offline version of your repository on your PC.
Install Jekyll
Now that we have our repo on our PC, we want to cd into it and install Jekyll.
1
2
$ cd occhristian.github.io
$ jekyll new --skip-bundle .
If it returns an error as mine did (very likely), then add the –force flag, like so:
1
$ jekyll new --skip-bundle --force .
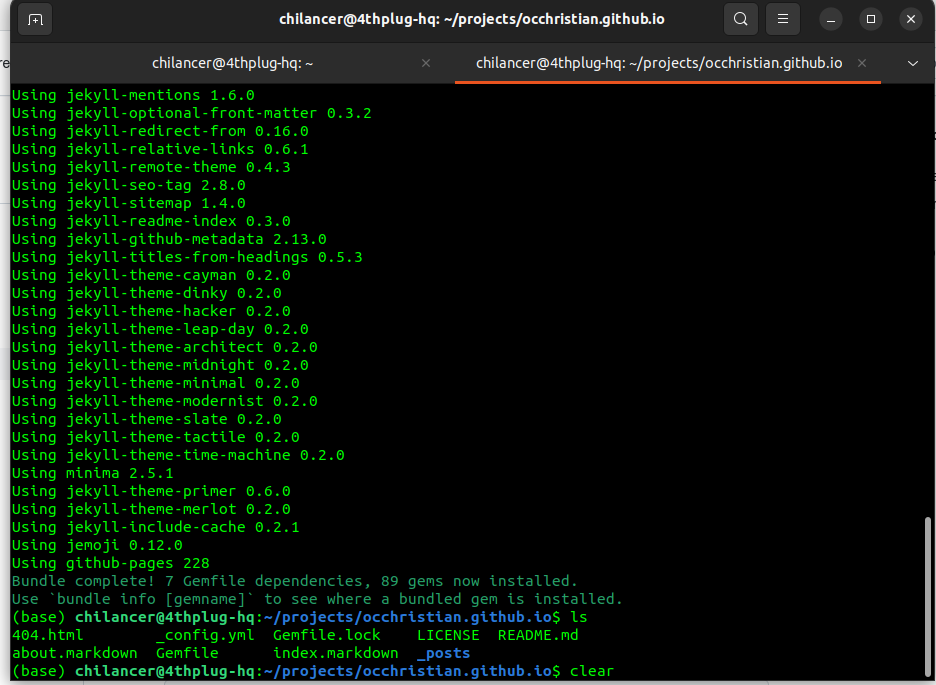
After the command runs successfully, you can ls to confirm that Jekyll has been installed successfully. This process also creates certain files by default.
This is what we have done so far:
Modify the _Gemfile
Open the Gemfile file using the editor of your choice. I like Vim.
You need to tell Jekyll to allow Github Pages to perform certain operations whenever you push to Github. To do this,
- You need to comment out the line that says:
gem "jekyl", "~> x.x.x"by simply adding an octorthope (#) before it, like so:
1
# gem "jekyl", "~> x.x.x"
- Add the github-pages gem by uncommenting (and editing) the line that starts with
gem "github-pages", ...It should read:1
gem "github-pages", "~> github-pages-version", group: :jekyll_plugins
Replace github-pages-version with the current version of the github-pages gem as seen on this page As at the time of this writing, it was 228.

That’s it! You can now close the Gemfile.
For me, I press the Esc key, and the type :wq and press Enter (I’m using Vim, remember?)
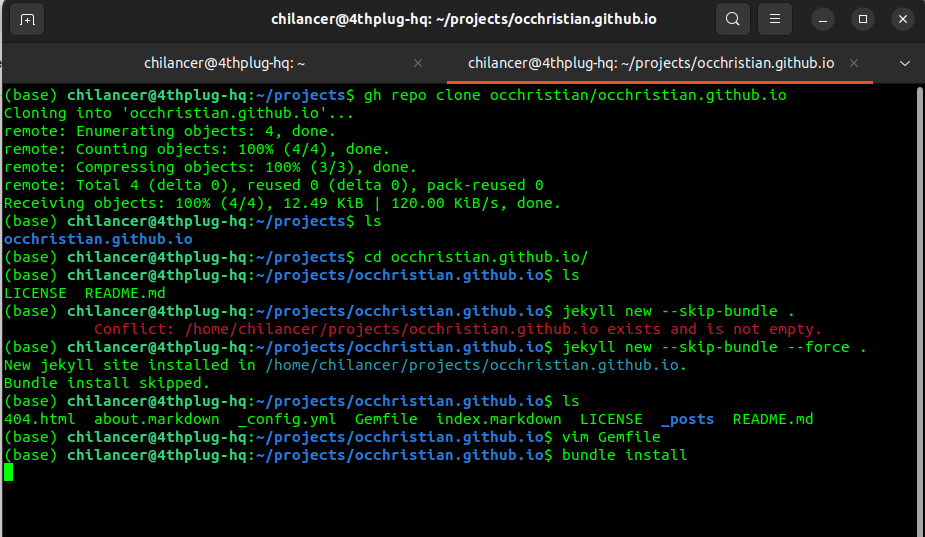
Next, run the command bundle install so that Jekyll checks the Gemfile to see what new changes need to be made, and what new gems need to be installed.
Push changes back to Github
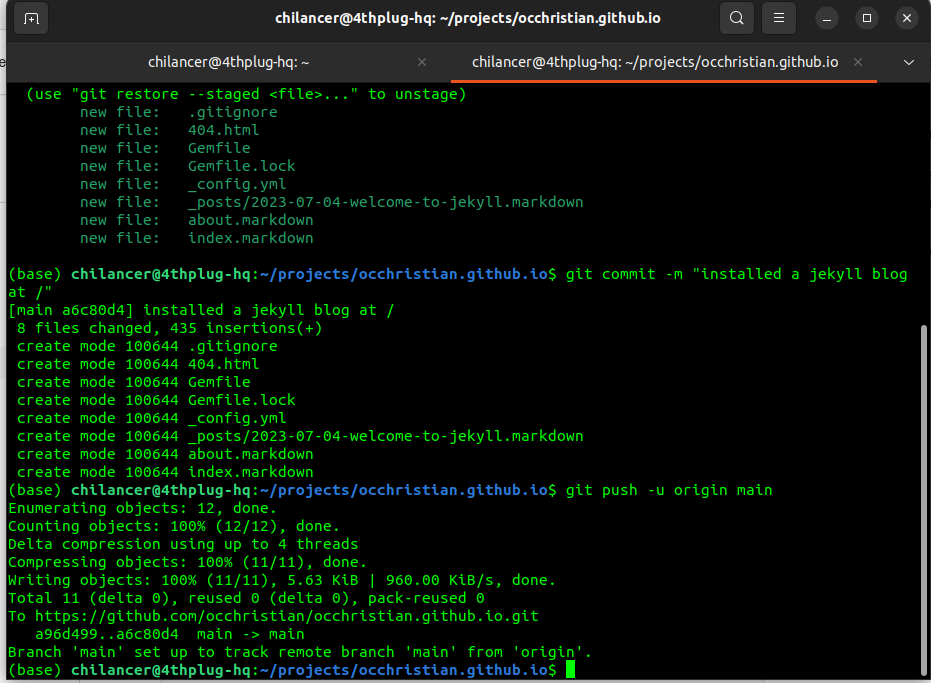
Now that we are done installing the site (and Github pages), we need to push the changes we have made back to Github.
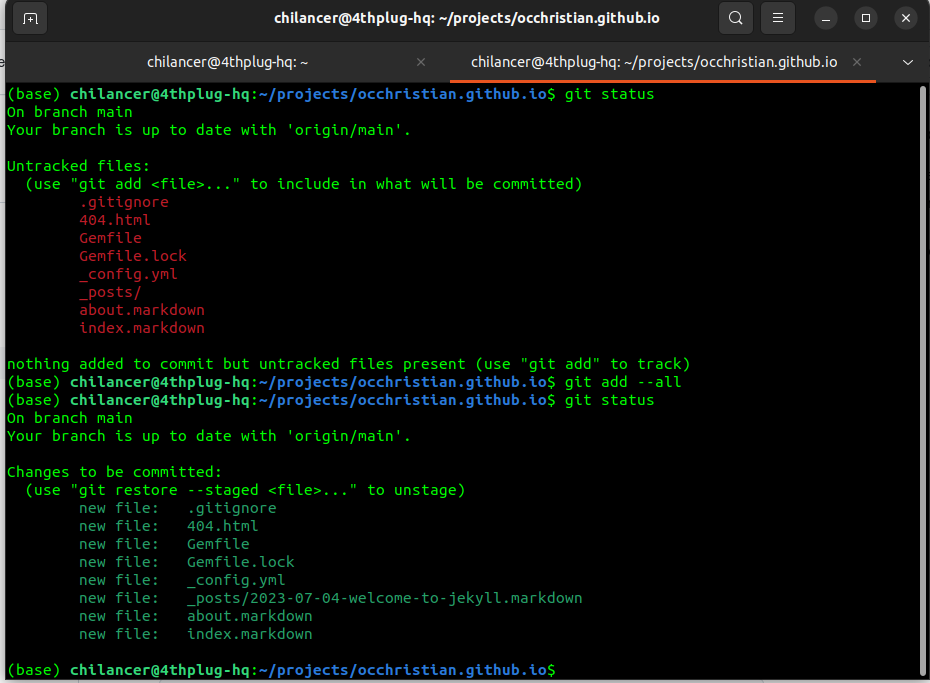
Running the git status command shows us that there are lot of new (and modified) files.
You are now going to first stage these files, commit them, and then push the changes. Run these commands one after the other:
1
2
3
$ git add --all
$ git commit -m "type a message here for your commit"
$ git push -u origin main
Preview
If you open your new site in a browser (mine is occhristian.github.io), you should see a new installation of Jekyll, waiting to be explored! Congrats!
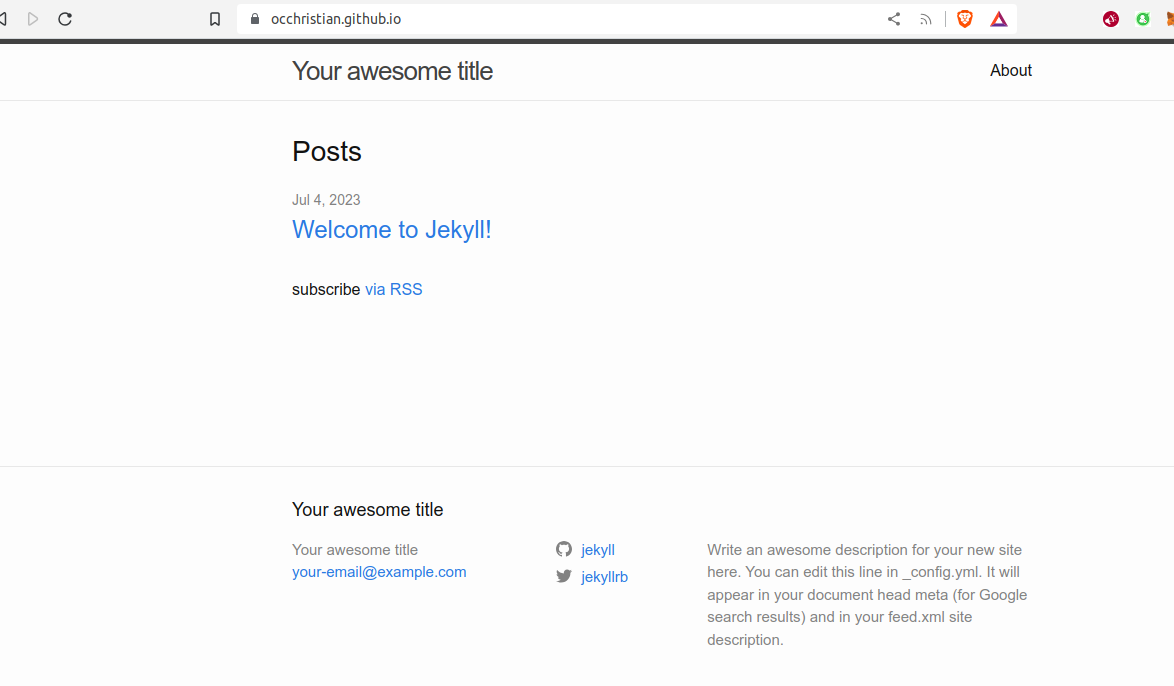
…and that, my friends, is how you do it!
You have just unlocked a new world of possiblities with Jekyll and Github!
There will be other posts on the matter on this blog.